Easy Guide: How to Make Non Toxic Playdough at Home Safely
Ever wondered how to make non-toxic playdough at home? As the passionate advocate behind nontoxicways.com, I’m here to guide you step-by-step. A mindful choice for our little one’s safety can also be a fun and creative enterprise, let me assure you.
We’ll dig deep into the process, from choosing harmless ingredients to crafting a cost-effective and vibrant dough. Imagine the joy on your kiddos’ faces as they indulge in worry-free playtime with your homemade, scented playdough.
Join me in this journey towards safe and sustainable living – starting with your children’s playroom. Let’s empower ourselves to make the right choices for our family’s health while also nurturing creativity and fun.
Why Should You Choose Homemade Non-Toxic Playdough?
Creating non-toxic playdough at home is a fantastic choice for parents prioritizing safety and creativity for their children, especially when considering the importance of adhering to children’s product safety rules outlined by the Consumer Product Safety Commission (CPSC). You can learn more about these guidelines [here](https://www.cpsc.gov/Business–Manufacturing/Business-Education/childrens-products).
Discover the Benefits of Non-Toxic Playdough
One of the primary advantages of homemade non-toxic playdough is its safety. Unlike commercial versions, homemade playdough is free from harmful chemicals, making it a worry-free option, especially for young kids who might be prone to putting things in their mouths.
Moreover, making non-toxic playdough at home can spark creativity and improve fine motor skills while offering a rich sensory play experience. Structuring activities around how to make non-toxic playdough brings joy and learning together.
Cost is another big benefit. Homemade playdough is often cheaper than store-bought alternatives, allowing families to enjoy more for less. The DIY nature of this project makes it highly customizable. You can choose different colors, textures, and scents, tailoring each batch to your child’s preferences or seasonal festivities.
It’s particularly useful for kids with sensitive skin or allergies. Homemade playdough can be made with specific ingredients to avoid irritants, providing a safer play environment.
Staying Safe: Cautions and Safety Tips for Non-Toxic Playdough
While learning how to make non-toxic playdough, certain precautions ensure it remains safe and enjoyable.
One crucial factor is the high salt content in homemade playdough. Therefore, keep it away from pets who might find it enticing but harmful. Another vital step is checking for potential allergies to the ingredients you plan to use. Conducting a small patch test can help prevent any adverse reactions. For those interested in cooking with safe appliances, consider using a non-toxic waffle maker to minimize any health risks.
Supervision is key when children are using the playdough, especially younger ones who might explore it with their mouths. Making sure they are supervised helps prevent choking hazards.
Another safety tip is to monitor the playdough’s condition over time. Any changes in color, texture, or odor could indicate it’s time to discard the old dough and make a fresh batch.
When the playdough is not in use, store it in a safe place, out of reach of small children. This helps keep the playdough fresh and prevents unsupervised access. Following these simple but effective safety guidelines ensures a fun, educational, and safe experience for everyone involved.
The Essential Ingredients for Making Non-Toxic Playdough
Ensuring that your children have safe and fun playtime is crucial. With a few simple ingredients, you can easily create non-toxic playdough at home.
Finding Your Ingredients: What You’ll Need
To learn how to make non-toxic playdough, gather the following essential ingredients:
All-Purpose Flour: Start with 1 cup of all-purpose flour. This forms the base of your playdough and gives it the perfect consistency.
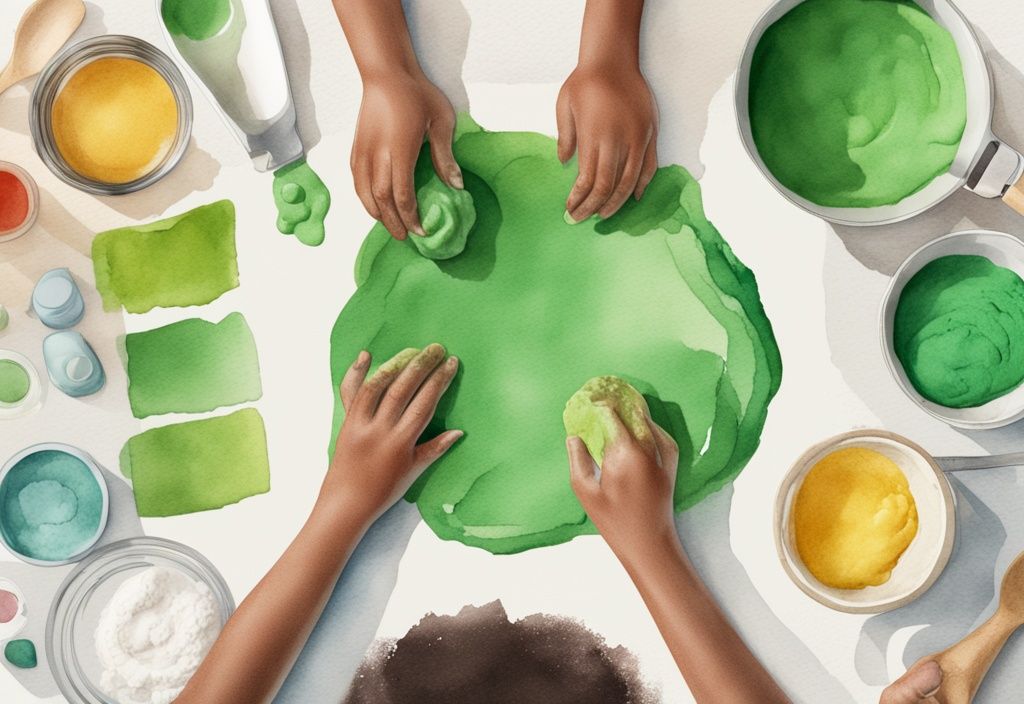
Water: You’ll need 1 cup of water to seamlessly combine all the ingredients.
Cream of Tartar: Adding 2 teaspoons of cream of tartar ensures the playdough remains pliable and extends its shelf life.
Table Salt: Mix in 1/3 cup of table salt for texture and preservation.
Vegetable Oil: Include 1 tablespoon of vegetable oil to make the playdough soft and prevent it from sticking. Canola, olive, or coconut oil are great substitutes.
Food Coloring: For fun and creativity, use food coloring (preferably natural or organic) or opt for a natural dye to add vibrant hues to your non-toxic playdough.
Great Ideas for Optional Ingredients
Enhancing your homemade playdough can be easy and fun with a few optional ingredients.
Natural Scents: Consider adding essential oils like lavender, peppermint, or citrus extracts for a delightful aromatic touch, making playtime even more enjoyable.
Natural Dyes: There are numerous natural dye options available if you wish to avoid artificial dyes. Beetroot powder can give a lovely pinkish-red hue, while turmeric offers a bright yellow shade. Spinach or spirulina powder can be used for a natural green color. For earthy tones, coffee beans or cocoa powder yield beautiful brown shades. Blueberries can produce stunning blue or purple playdough.
Glitter: For an extra element of fun and creativity, consider incorporating some glitter.
By using these ingredients and ideas, you can easily make your own non-toxic playdough. This ensures it’s safe and customizable for your children’s playtime, fostering their creativity and ensuring peace of mind.
Step-by-Step Guide on How to Make Non-Toxic Playdough
Learning how to make non-toxic playdough can be a delightful and rewarding activity. From gathering ingredients to storing the finished product, each step in this process is crucial for creating safe and enjoyable playdough.
Prepping Your Ingredients
To start this fun journey, gather all essential ingredients. You’ll need:
- 1 cup of all-purpose flour
- 2 teaspoons of cream of tartar
- 1/3 cup of table salt
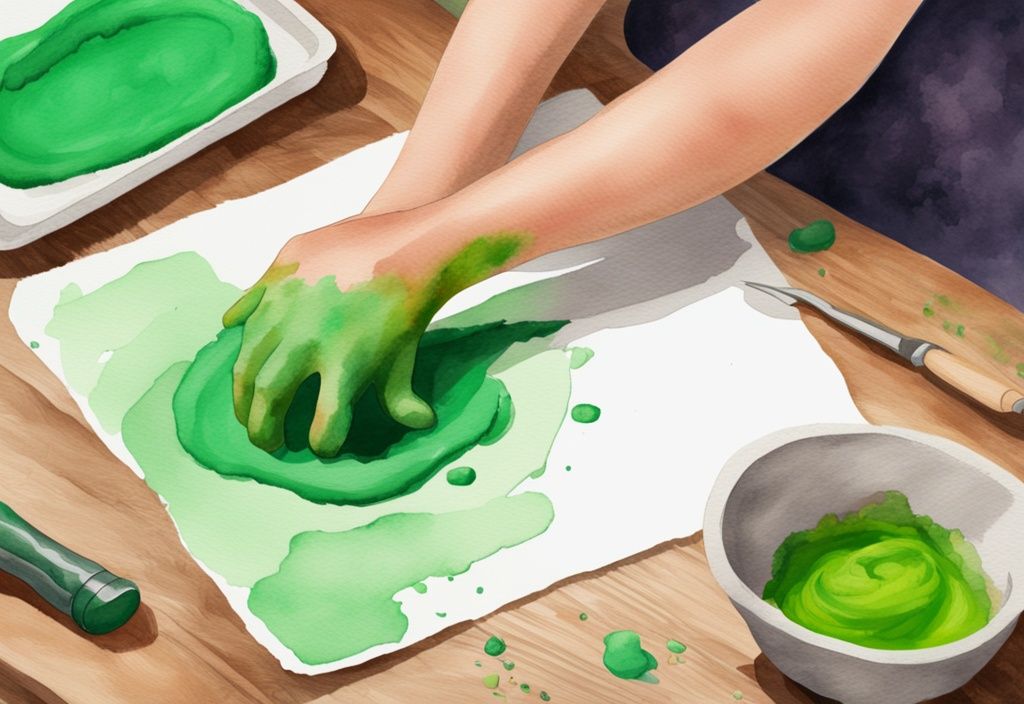
Measure these into separate bowls. Prepare 1 cup of water and 1 tablespoon of your chosen oil—be it vegetable, canola, olive, or coconut oil. If you’d like a personalized touch, have your food coloring or natural dye ready. Optional ingredients such as essential oils can add a pleasant scent.
The Cooking Process: How to Mix and Cook Your Playdough
Begin by combining all your dry ingredients—flour, cream of tartar, and salt—in a large saucepan. Once mixed, add the water, oil, and your chosen food coloring or natural dye. Stir the mixture thoroughly.
Place the saucepan over medium heat, continuing to stir as it cooks. Gradually, the dough will form. Keep stirring until it thickens to a doughy consistency. Once the dough is fully formed, remove it from the heat and let it cool before handling.
Add a Pop of Color: Natural Dye Alternatives
Creating your own dye can be a fun and natural alternative. Simply boil 1 1/2 cups of water with 1 cup of your chosen vegetable or fruit—like beetroot for red, turmeric for yellow, spinach for green, or blueberries for purple—and optional spices for about 20 minutes. Strain and cool the liquid before adding it to your playdough mixture. If you wish to have multiple colors, divide the dough and add different dyes to each portion.
The Finishing Touch: Kneading and Reviving Your Playdough
Once the dough has cooled, knead it until it becomes smooth and pliable. This step is essential for achieving a consistent texture. For a lovely aroma, consider adding a few drops of essential oil while kneading. If the playdough seems sticky, integrate a small amount of vegetable oil and knead again to perfect the texture.
Keeping Your Playdough Fresh: How to Store and Maintain
Proper storage is important to maintain the freshness of your playdough. Keep it in airtight containers such as mason jars or ziplock bags to prevent it from drying out. Store these containers in a cool place or refrigerate them to extend shelf life. Regularly check the playdough for any changes in texture or odor, which may indicate it’s time to make a fresh batch.
By following these steps, you’ll ensure that your homemade non-toxic playdough is safe, fun, and ready for play anytime!
Safely Store Your Non-Toxic Playdough
Properly storing your non-toxic playdough is essential to keep it fresh and extend its shelf life. Let’s delve into the best practices for choosing containers and maintaining the longevity of your homemade playdough.
Choosing the Best Containers to Store Your Playdough
Ensuring your homemade non-toxic playdough stays fresh starts with selecting the right storage containers. I’ve found that airtight containers, such as mason jars or plastic containers with tight-fitting lids, work wonders. They seal firmly and prevent the dough from drying out, which maintains its pliability and texture for longer periods.
An excellent option is ziplock bags. These effectively keep air out and are super easy to store. Just remember to squeeze out as much air as possible before sealing. Avoid using containers that don’t seal properly, as they can lead to the playdough losing its moisture and becoming hard and unusable. A little investment in good storage can make a big difference!
Maintaining Your Playdough: Tips to Prolong Shelf Life
Proper storage is key to prolonging the shelf life of your homemade non-toxic playdough. Always keep the playdough in a cool, dry place to prevent it from drying out or developing mold. For extended freshness, consider refrigerating the playdough. When stored in airtight containers or ziplock bags and kept in the refrigerator, the playdough can last up to six months.
Regularly checking the playdough for any signs of spoilage is crucial. Look out for mold, an unpleasant odor, or any noticeable change in texture. If you spot any of these signs, it’s best to discard the playdough immediately to ensure safety. Taking these small steps will ensure your kids have a safe and enjoyable playtime with fresh, non-toxic playdough.
Efficient Cleanup After Making Your Non-Toxic Playdough
Mixing up a batch of non-toxic playdough can be a joyful and creative activity, but it certainly comes with its own set of challenges, notably the cleanup. Here’s how to keep everything tidy and stress-free.
Cleaning Your Tools: How to Clean Surfaces and Equipment Efficiently
Making non-toxic playdough is fantastic, but it does leave behind a bit of a mess. Knowing how to clean up efficiently will save you time and keep your kitchen in order.
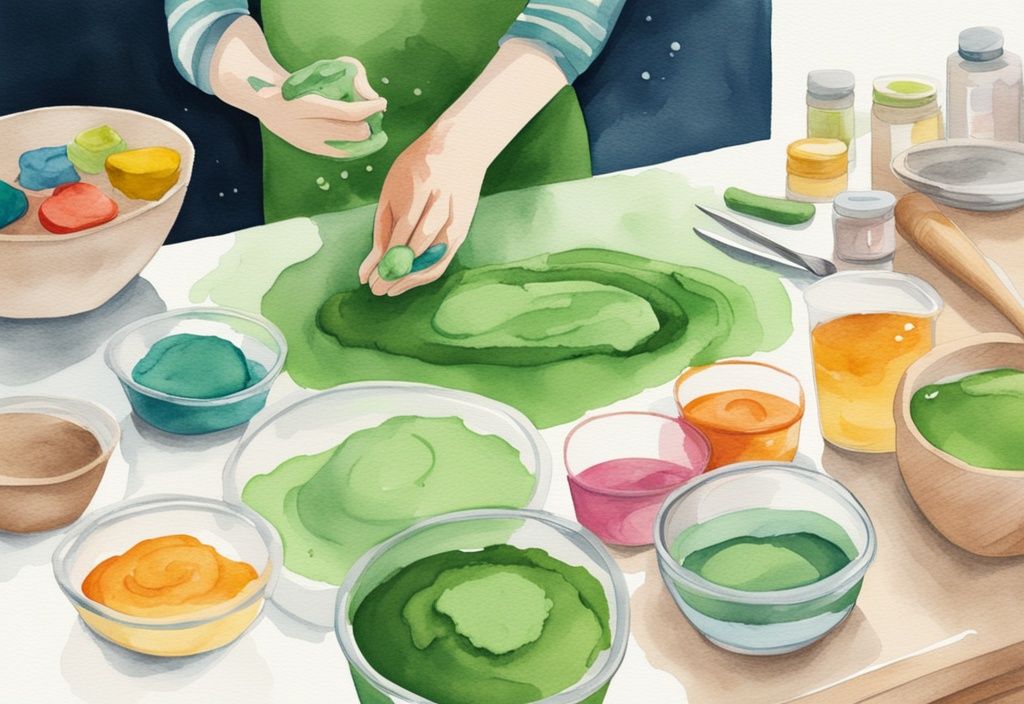
Start by using glass cutting boards to prepare the dough. These surfaces are smooth and easy to wipe down, minimizing playdough sticking and making the cleanup process much more manageable. Immediately after making your dough, wipe down all your counters and surfaces to prevent the playdough from hardening and becoming difficult to remove.
A simple swipe with a damp cloth can make a big difference. For your utensils, pots, and any other equipment used during the process, wash them promptly with warm soapy water. This will dissolve any residual dough and oils, returning your tools to their pristine state in no time.
Dealing with Messes: Removing Playdough from Carpets and Fabrics
Accidents happen, and sometimes playdough ends up where it shouldn’t, like carpets or clothing. When this occurs, the best approach is to let the playdough dry fully before attempting to clean it up. Trying to clean it while it’s still soft can cause it to smear and embed deeper into fibers.
Once it’s dry, use a stiff brush to loosen and remove the dried playdough from carpets. Follow this by vacuuming thoroughly to get rid of any remaining particles. This two-step process ensures that your carpet is free from any stubborn residues.
For clothing, gently scrape off the dried playdough using a blunt knife or a scraper. Next, soak the garment in cold water mixed with a bit of dish soap to break down any oils and remaining playdough particles. Finally, machine wash the clothing as you normally would. This method will help lift out the playdough without damaging the fabric. Following these tips will keep your home clean and your playdough-making experience enjoyable.
Your FAQs Answered
Can I Use Gluten-Free Flour in my Non-Toxic Playdough?
Absolutely, you can use gluten-free flours like rice flour or almond flour. I’ve found that adjusting the amount of water helps achieve the right consistency. This makes it an excellent option for creating non-toxic playdough that caters to everyone’s needs.
Creating Allergy-Friendly Playdough: Learn How
Crafting allergy-friendly playdough is a breeze! Simply substitute known allergens with safer alternatives. For example, use gluten-free flour. I also love using natural dyes and essential oils—they add color and scent without triggering allergies. Remember to conduct a patch test before a full play session to ensure complete safety.
Is Your Child’s Safety Guaranteed If They Accidentally Ingest Playdough?
Homemade non-toxic playdough is generally safe if accidentally ingested because it’s made from edible ingredients. However, it’s essential to ensure children do not consume large amounts due to the high salt content. If significant ingestion occurs, consult a physician.
Tips on Refrigerating Your Playdough for Longer Freshness
To extend your playdough’s shelf life, store it in airtight containers or ziplock bags before refrigerating. I always label and date my containers to track freshness. Properly refrigerated playdough can last up to six months. This simple step keeps playtime fresh and fun for months to come.
Natural Dye Alternatives for a More Vibrant Playdough
Enhancing the color of your non-toxic playdough with natural dyes is not only safer but also fun. For reds and pinks, I use beetroot powder. Turmeric gives a bright yellow hue, while spinach or spirulina powder provides a lovely green shade. Coffee beans or cocoa powder are perfect for brown tones, and blueberries can be used for blue or purple colors. These natural options make your playdough visually appealing and safe for little hands.
Wrapping Up: The Final Word on Non-Toxic Playdough
Making non-toxic playdough at home is a wonderful and thoughtful way to ensure that your children play safely and creatively. Opting for homemade playdough means you are eliminating the risk of harmful chemicals commonly found in store-bought varieties.
Bringing your kids into the kitchen to whip up a batch of non-toxic playdough can be both a fun and educational experience. Not only does it stimulate their creativity, but also it boosts their fine motor skills and sensory development. Watching them get their little hands dirty during the mixing, coloring, and kneading stages can be a delight and a fantastic bonding experience.
To ensure that your homemade playdough remains safe and long-lasting, it’s vital to adhere to all recommended safety tips. Keep an eye out for any allergic reactions to the ingredients and always supervise young children during play to avoid choking hazards. Proper storage is a must too—place the playdough in airtight containers and store it in a cool, dry place or refrigerate it to maintain its freshness for a longer period.
Choosing to make non-toxic playdough at home offers a trifecta of benefits: it’s safe, economical, and educational. Customization options are endless—you can select various natural dyes and scents to make the playdough more engaging, especially for kids with sensitive skin or allergies. This approach isn’t just about saving money; it’s about creating a nurturing and imaginative play environment for your children.
By making non-toxic playdough at home, you’re offering your little ones a myriad of benefits: engaging in safe play, encouraging their creativity, and fostering an educational atmosphere right in the comfort of your own home. Such hands-on activities also allow you to spend quality time with your children, making memories that are not only fun but also valuable for their growth.
Overall, homemade non-toxic playdough is more than just a safe alternative—it’s a way to blend health-conscious living with joyful, imaginative play.
Hi, I’m Olivia Green, the voice behind nontoxicways.com. I’m passionate about helping you make the shift to a healthier, non-toxic lifestyle without feeling overwhelmed. I love sharing my personal journey, from small changes to big transformations, along with practical tips that make it all feel doable. My goal is to inspire and guide you toward a lifestyle that benefits both your well-being and the planet. Let’s take this journey together, one simple step at a time!





Post Comment